Article: What REALLY Happens When You Laminate Your Own Brows at Home
What REALLY Happens When You Laminate Your Own Brows at Home
 The Brow Journey
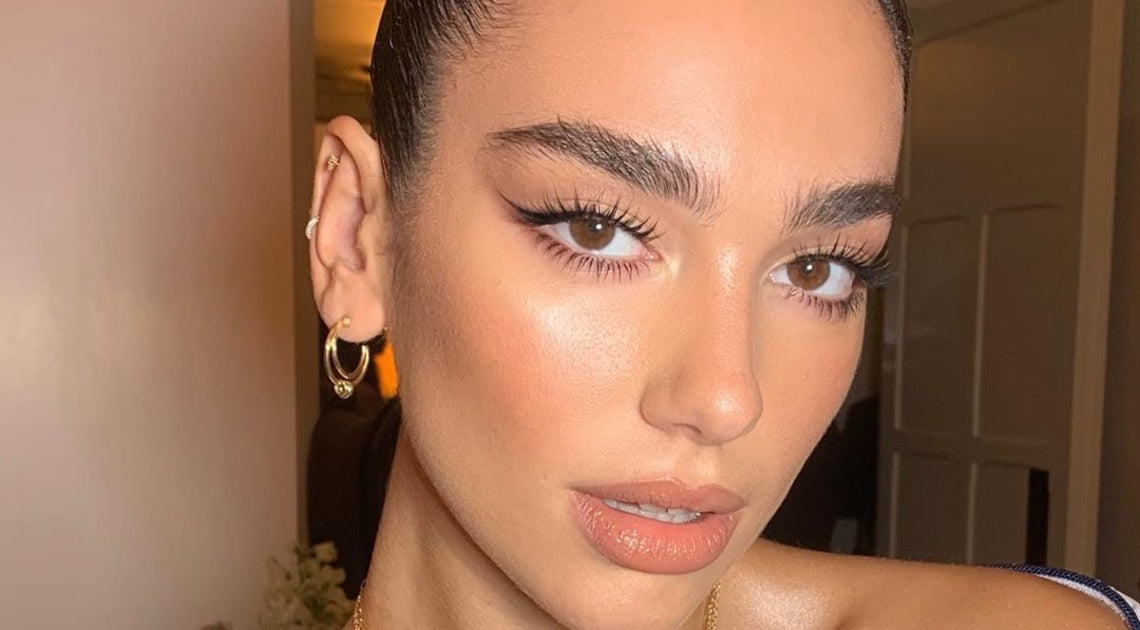
Ok, let me tell you that I have done everything I can to try and achieve those fluffy, Cara Delevingne / Dua Lipa brows you see all over Instagram. I was fed up with my thin, gappy brows and finally decided to jump on the brow lamination trend.
This has been the ONLY thing that makes them appear fuller without me piling about six different products into my brows each morning.
The salon treatment is around $120 and involves perming the brow hairs – by perming them all in the same direction, they look much fuller. Combined with a brow tint, the results are incredible. The results lasted 6-8 weeks and took about 45 minutes.
Spanner is thrown in the works: indefinite lockdown.
Forcing me to get creative, I finally worked up the courage to buy a DIY at-home brow lamination kit.
The Kit

There are many on the market, but most looked dodgy as hell. The Original High Brow Lamination Kit™ stood out as a professional kit by an Australian brand that’s safe to use at home. It received tonnes of rave reviews and is vegan and cruelty free as well, which is a bonus.
The Process

The instructions on the back of the box were pretty easy to follow: cleanse, generously cover the brows, cling wrap the brows, wait and wipe off. Repeat two times with each of the ‘perm’ solution and ‘fix’ solution. Lastly, nourish with a vegan based ‘keratin’ brow growth oil to nourish the brows and promote brow growth.
I was straight-up scared but this was easier than I thought.
In 25 minutes, the texture of my brows changed – the actual COMPOSITION felt different. They were so soft, malleable and I could brush them in any direction I wanted.
My skin was very slightly pink around my brows, but I didn’t feel any sensitivity or irritation.
The Verdict
The product description says that the effect is “Voluminous, full, feathery brows that last up to 8 weeks. Think of it like a lash lift but for brows with a definition that stays true”. Boy, this actually lived up to the hype…
Cons
- I’m tempted to do this treatment way often than I should.
- If you have sensitive skin, you could try putting Vaseline on the skin around your brows (pro-tip!).
Why you’ll fall in love with DIY brow lamination:
- It is a MASSIVE timesaver each morning. Once I brush them up with a spoolie in the morning, I don’t need as much product in my brows anymore.
- The kit comes with all the tools you need and should last me at least 5x applications.
- The results last for a good 6 weeks and longer if I’m more diligent with the aftercare.
- It also comes with a ‘nourish’ bottle which contains a vegan keratin (not all kits contain this ingredient). I use it every 2-3 days and my brow hairs have grown thicker and fuller. A little goes a long way, so it is great value for money as a brow oil.
Insta-worthy brows FINALLY UNLOCKED. The search is over - praise be.

1 comment
Wow, I’ve never heard of this before, but this is super cool. Thanks for sharing
Esthetician Vancouver
Leave a comment
This site is protected by hCaptcha and the hCaptcha Privacy Policy and Terms of Service apply.